Do I qualify as an official member of “The Craftsman” magazine’s Home Builders Club if the house #99 I am constructing (published in the “The Craftsman”, October 1910, issue) is in 1:12 scale (one inch to one foot)? Does total time invested count? I am beginning year number six, and I am betting most club members finished their projects in less time with Stickley’s thorough plans which I wish I had on hand. It all started in 2017 when the inspiration hit me. At first were the dreams, scale drawings, graph paper, calculator, pencils, erasers and rulers that covered my dining room table and forced us to eat dinner for months on the kitchen counter.
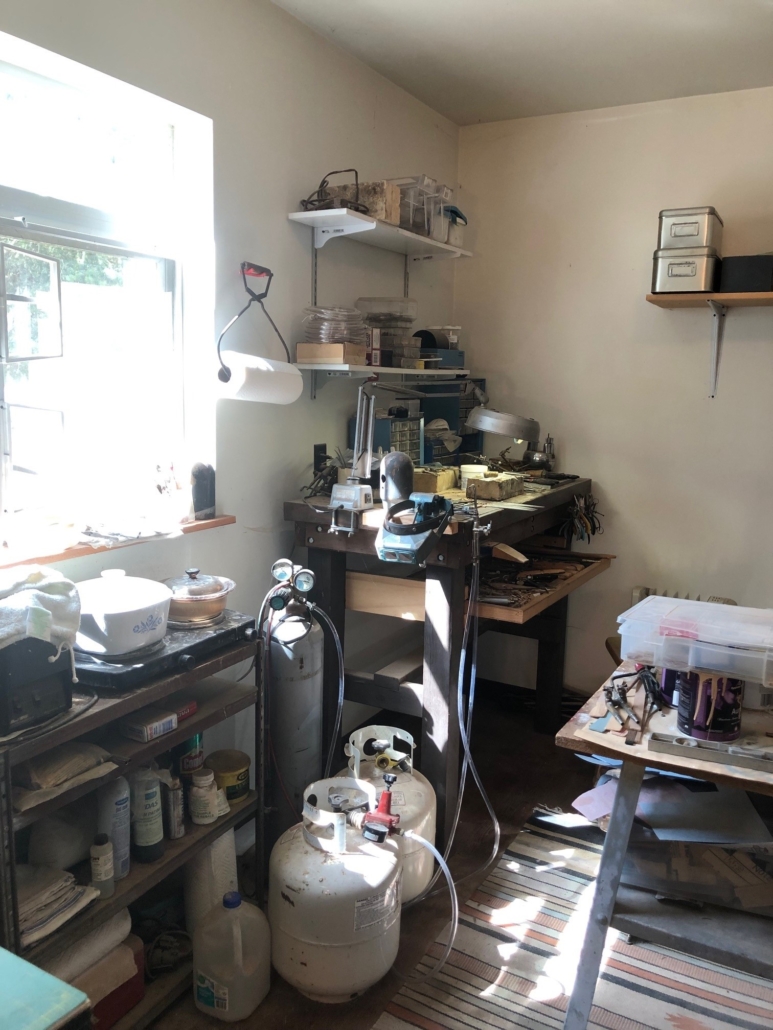
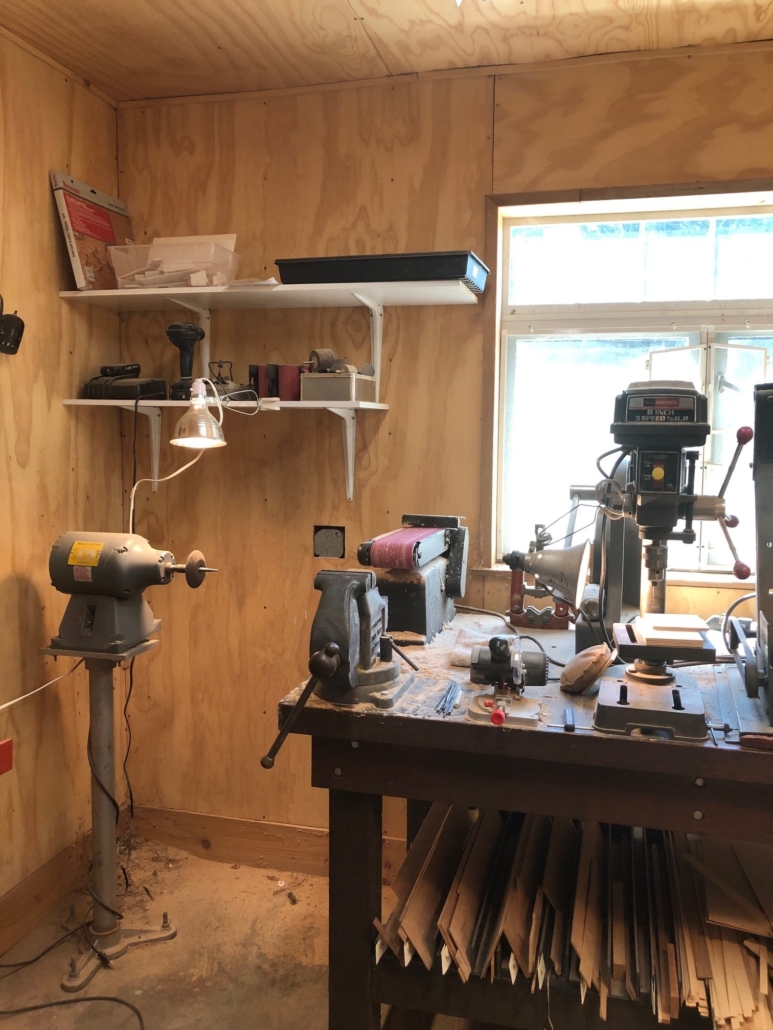
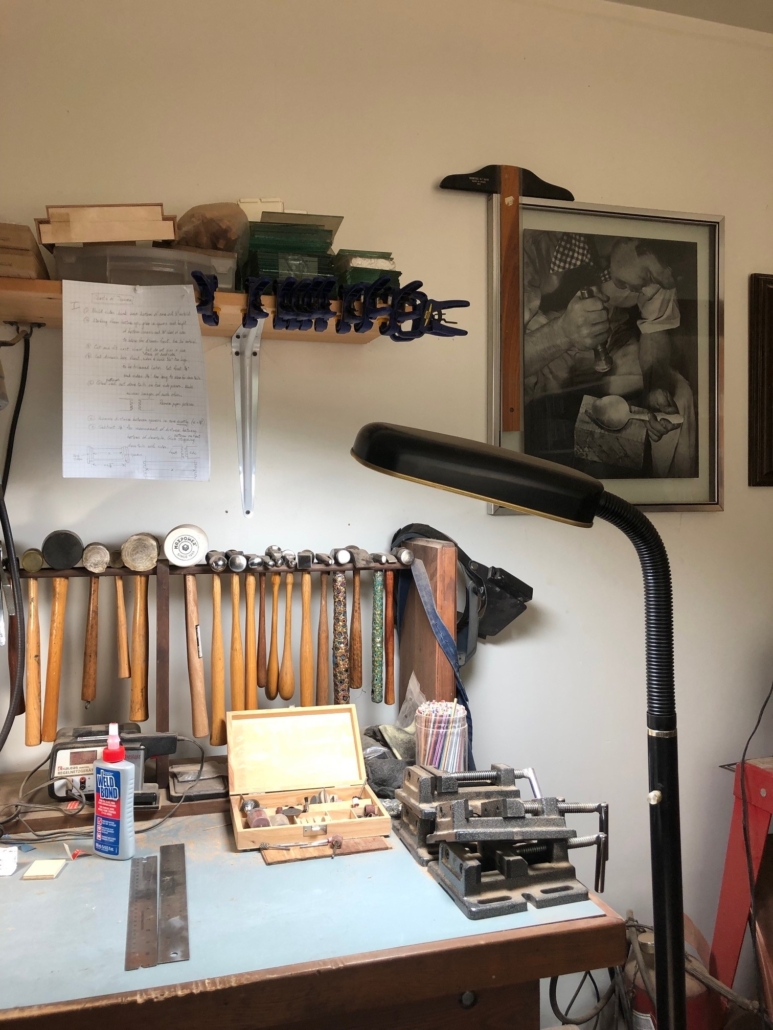
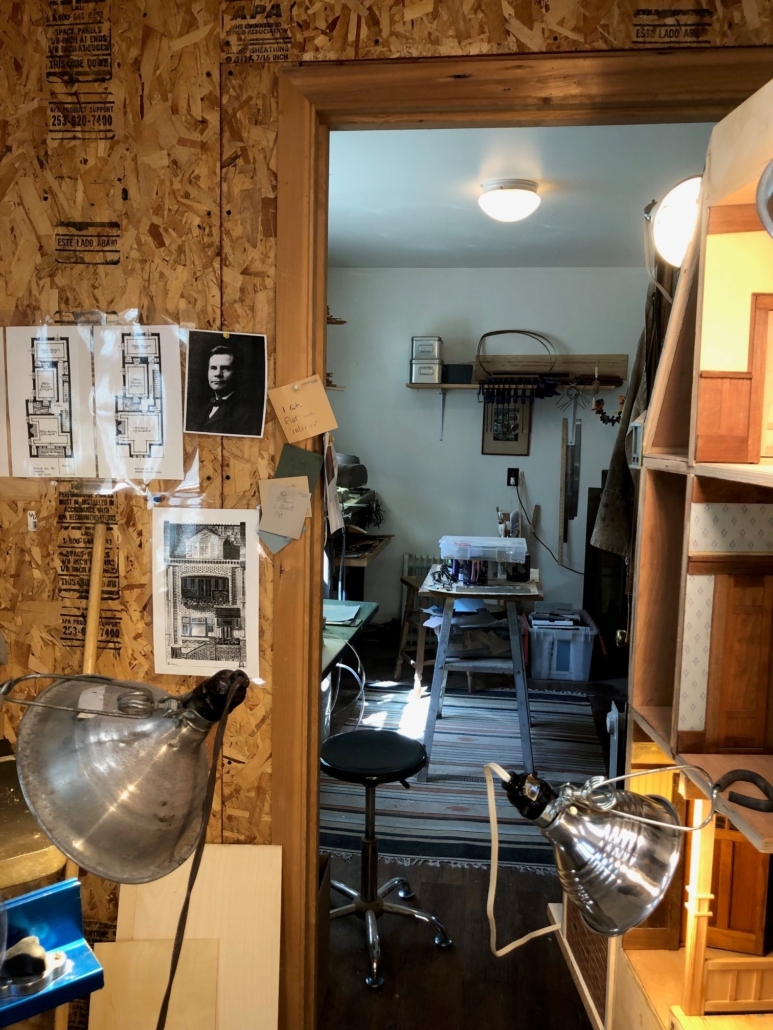
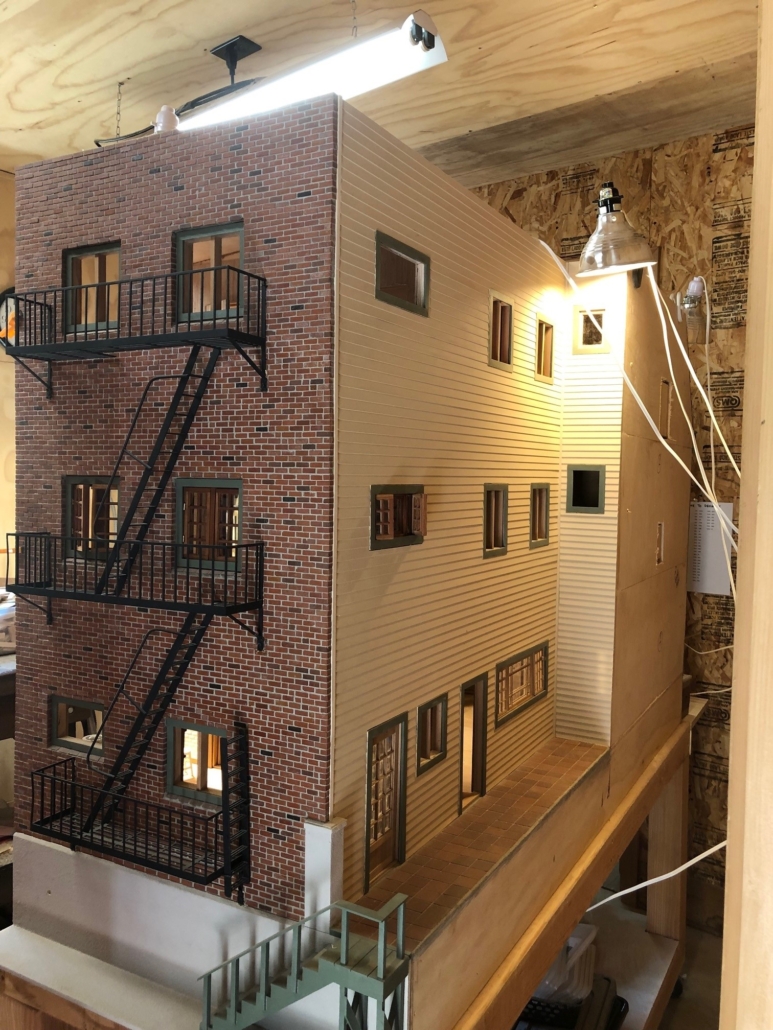
In the winter of 2018, my husband, Gary, helped me build the basic “carcass” in his wood shop with very little heat and a lot of trips to the kitchen to hold cold hands under the hot water tap (see “Building the Shell” post). Later it took four guys to carry my house down the hill to my workshop, remove the shop door to get it in and position the structure on a temporary table with no top so that the house could be accessed from underneath. For a while now, I have wanted to show where it is all taking shape, my shop, my most happy place, where hours spent there can feel like meditation. Truly, there is a lot more to be done, but maybe I can proclaim that the structure and interior woodwork are on the home stretch. Electricity, more furniture, and accessories to follow…for two more years (?).
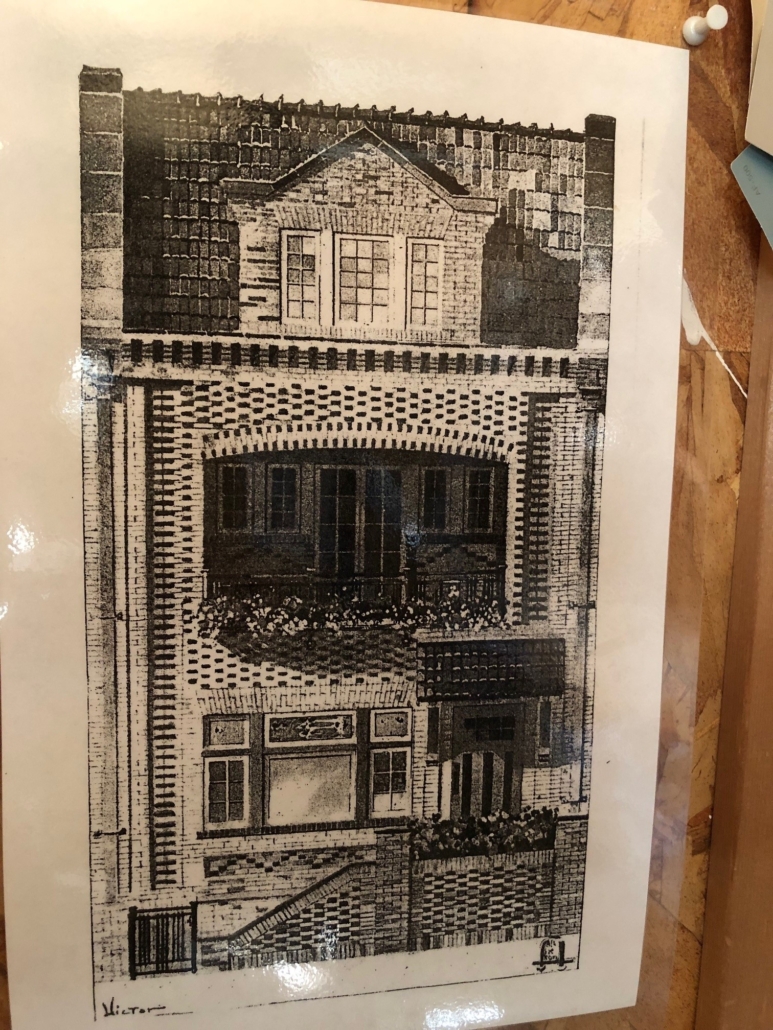

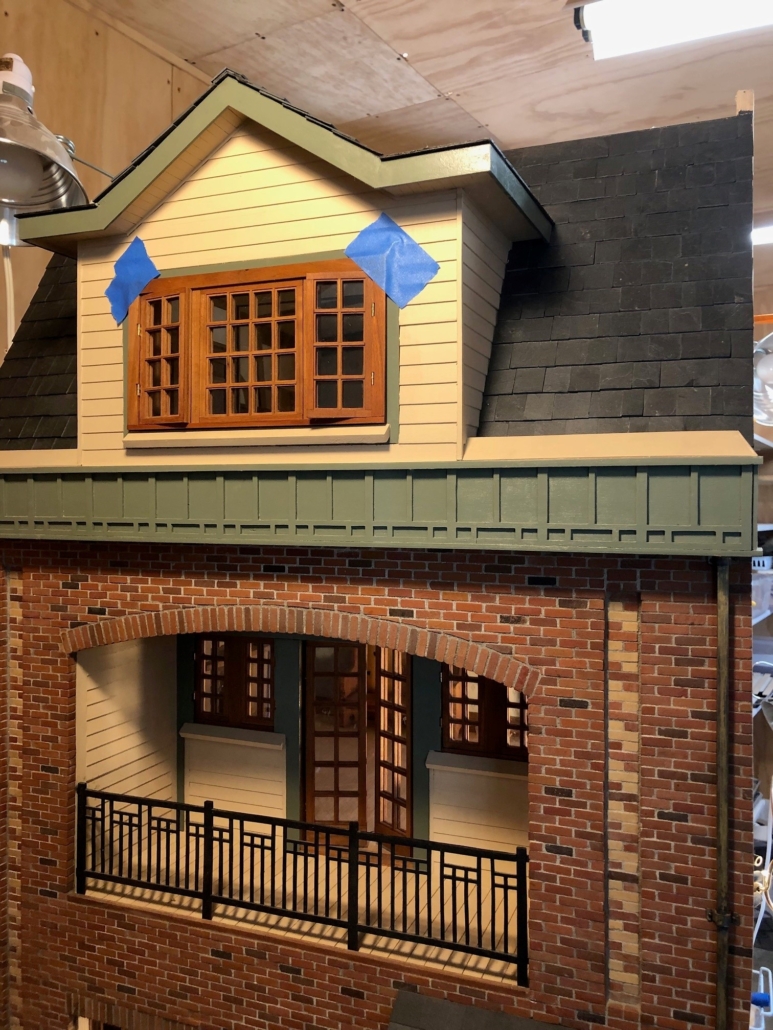
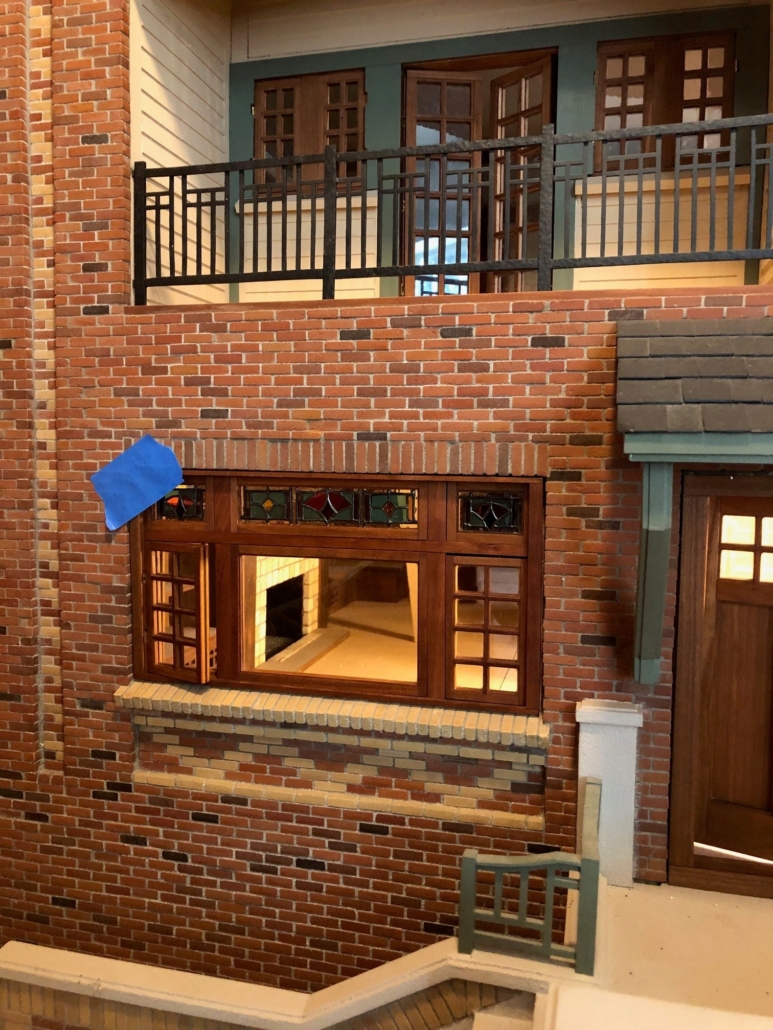
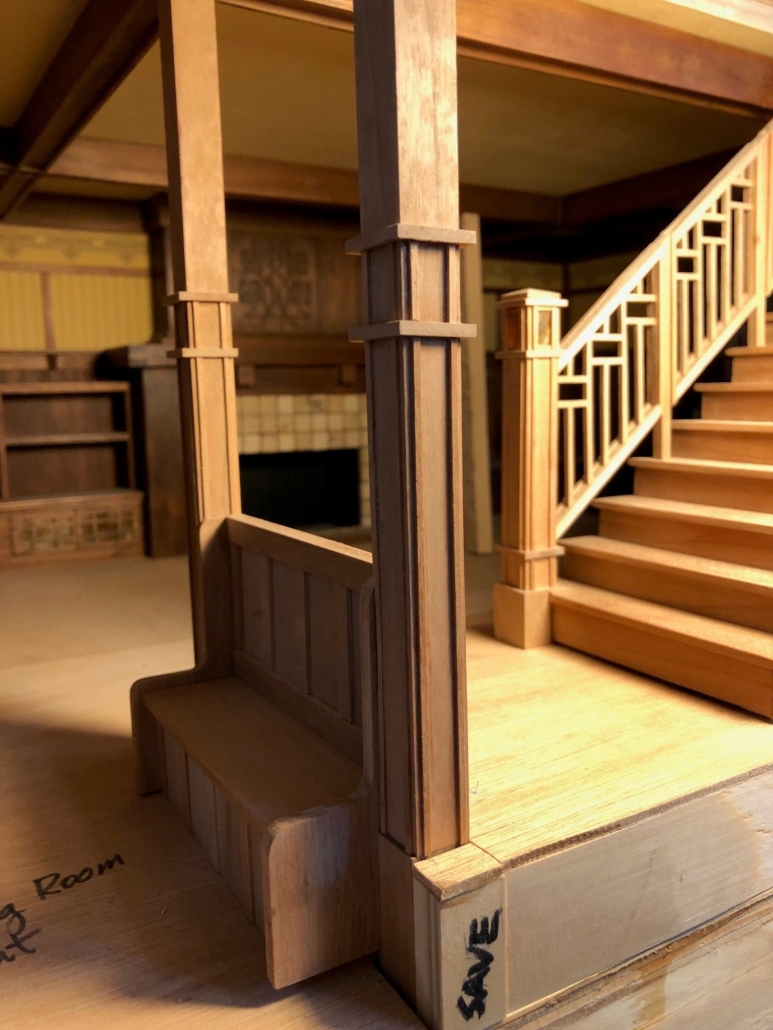
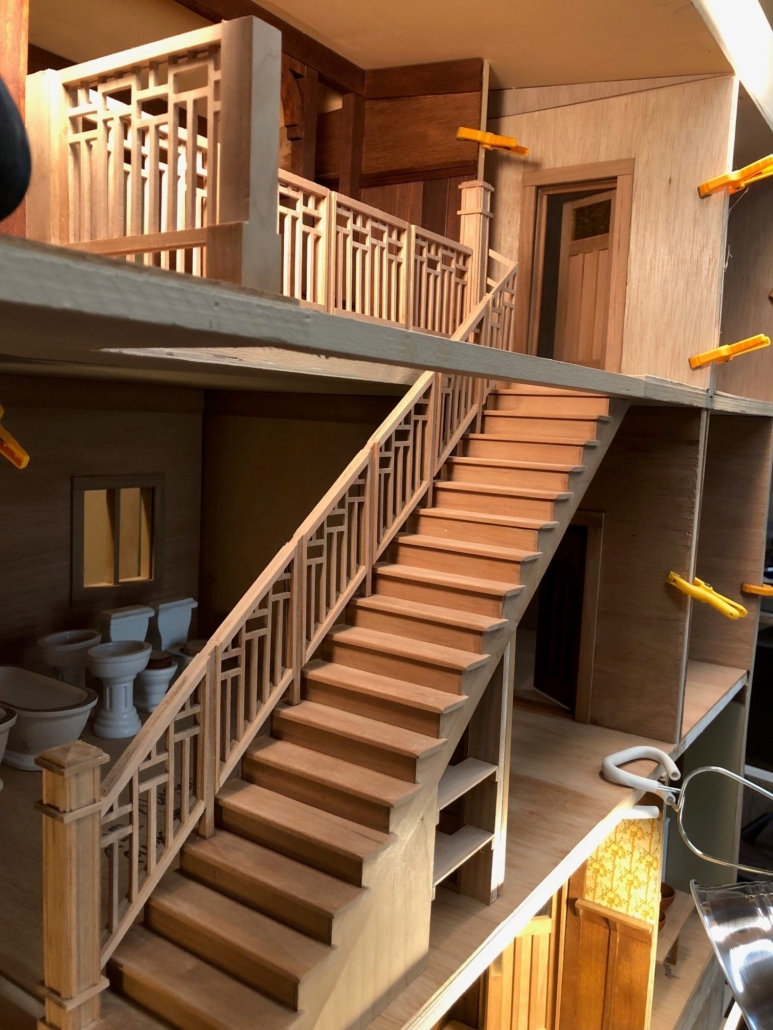
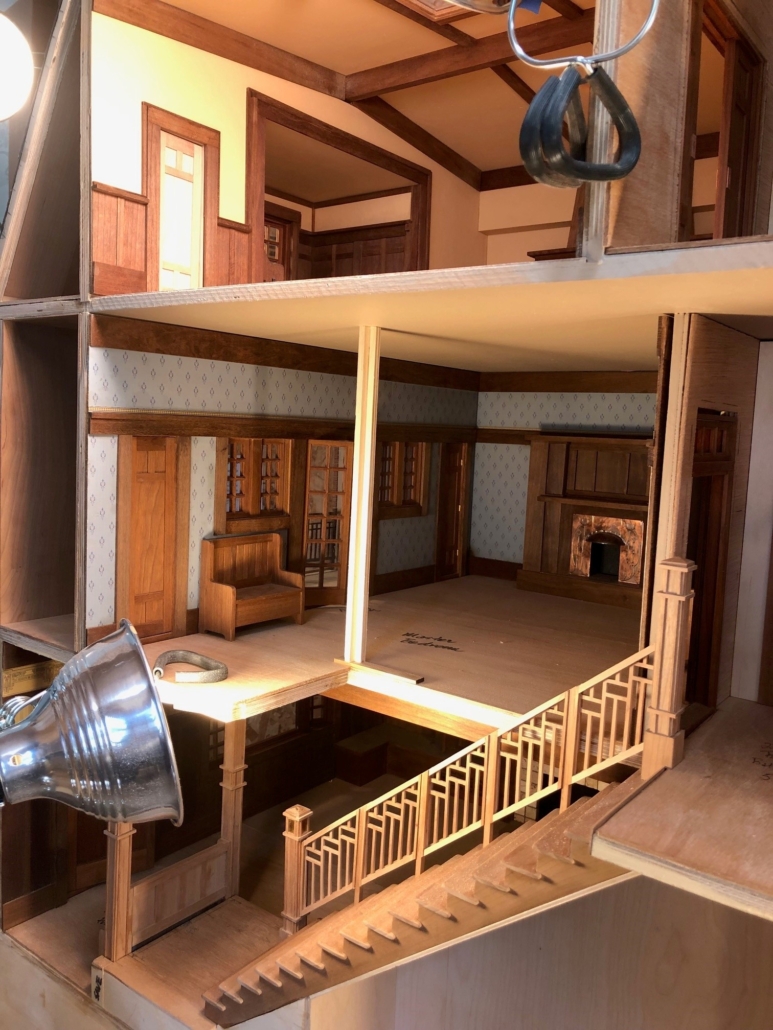
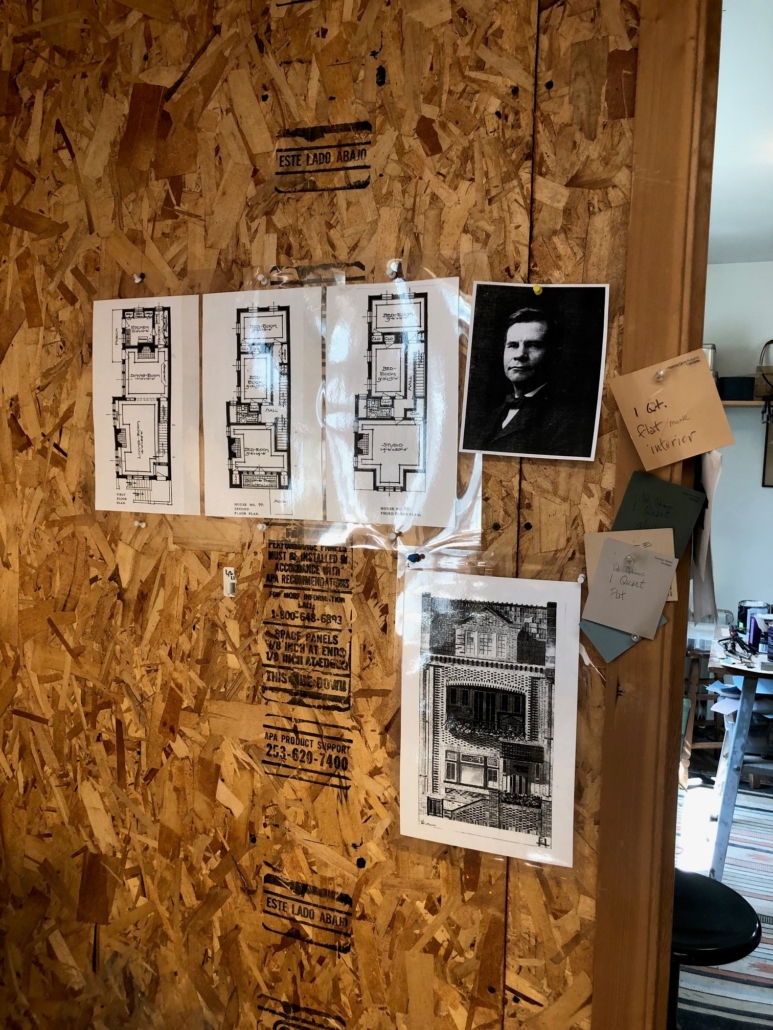
This is the illustration from “The Craftsman”, October 1910, that caught my eye. The house is designed to be built on a city lot, 25′ wide, in the middle of the block (a row house), with neighboring buildings on both sides, a HUGE departure from Stickley’s more common bungalows. That 25′ specific is the only dimension I had to determine the dimensions of the rest of the facade. The three floor plans included in the magazine had some dimensions and one bedroom elevation which helped with drafting the interior. With one “party wall” (a shared wall with the neighboring building), windows on the opposite side of the house can look out over a narrow breezeway/court between the house and its neighbor. Leaving the party wall open was the perfect design for a model house, and the narrow structure had few rooms one behind another, also perfect for a model house. With that in mind, I eliminated the butler’s pantry to open up the kitchen and a couple walls on the second and third floor landings around the stairs for more visibility.
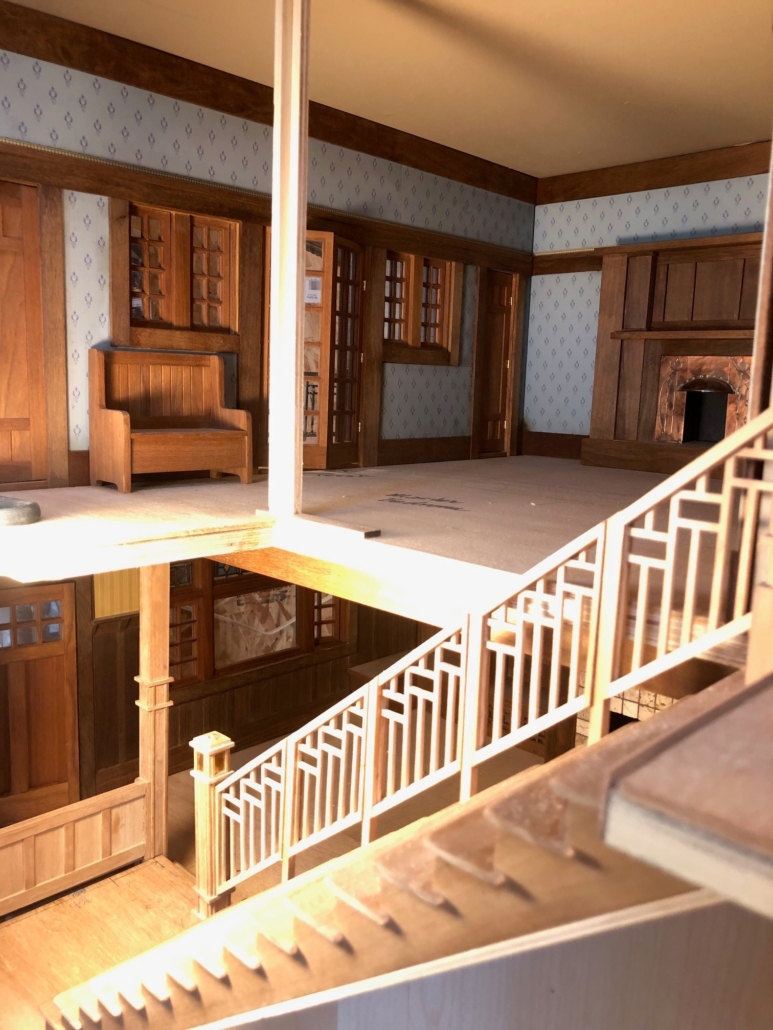
Still a dilemma, the second-floor master bedroom is enclosed in a wall around the stairwell. That wall makes perfect sense in real life but in my house, it would block the view of the bedroom and its furniture and accessories, so it has to go. A “pony wall” would not be realistic for a main bedroom that opens to the lower floor. So how to “suggest” a wall but allow visibility into the room??? There is always something yet to be decided.
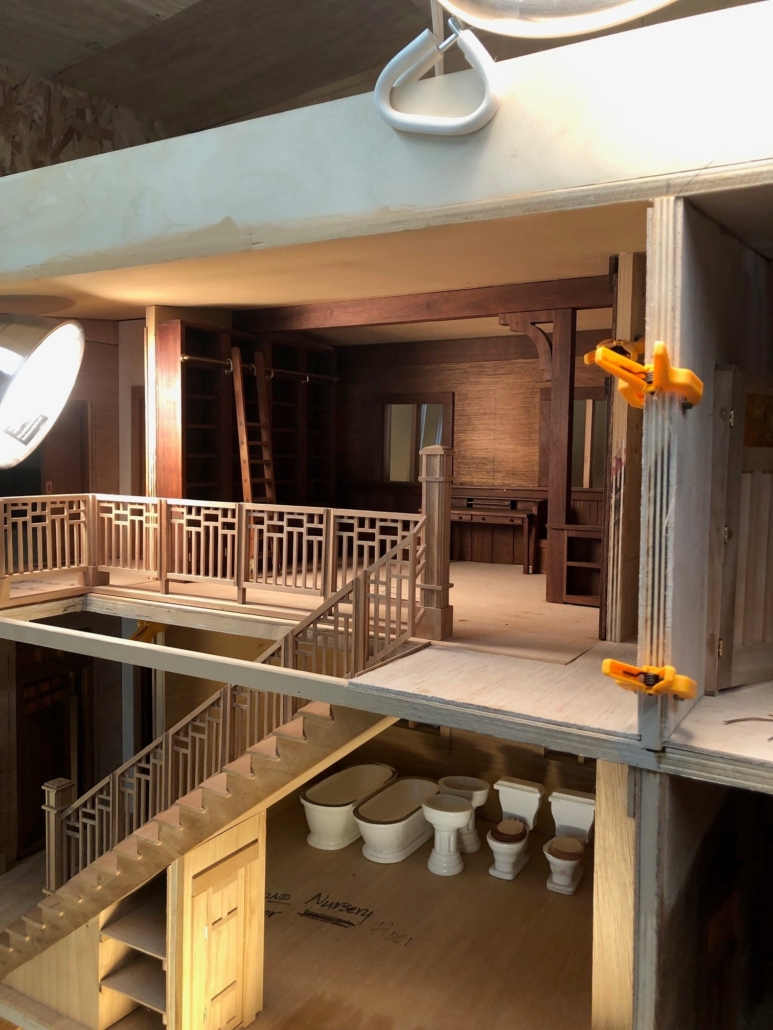
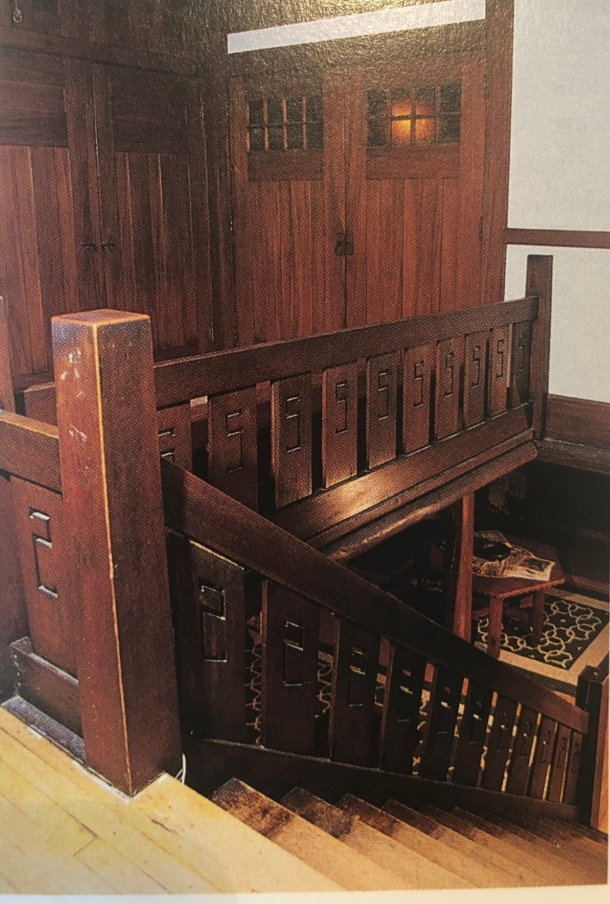
Another dilemma: there are two large staircases going from the main floor to the second floor and from the second to the third. The question of baluster design gave me countless hard-to-go-to-sleep nights. So many doll houses have a stairway with treads that are too shallow, risers too high and a pitch too steep. Just plain uncomfortable, unnatural and dangerous looking. I wanted my staircases to look and “feel” realistic. With the help of stair builders’ handbooks and some trigonometry, I came up with the correct stringers for both stairways and for the stairs going down to the basement and going up onto the porch landing and the front door. Who would have thunk it: that high school trig class actually came in handy. Because the two interior staircases are against the shared wall of the neighboring building (that wall I have chosen to remove), the balusters of both stairways have to be rather light weight to allow visibility into the rooms behind. Problem: typical Craftsman stairway designs tend to be heavy. I think of the one in Gustav Stickley’s log house at Craftsman Farms. Heavy wood panels with the initial “S” cut out, few inches between them, are all strung between heavy square newel posts with no ornamentation. Maybe I could cut the balusters from metal making any delicate spindles stronger? No, metal is not appropriate for the era. Instead, I decided to cut a simple design in sections from 1/8″ cherry stock with my jewelers saw. Between the sections are plain support posts with more ornate starting and landing newel posts (that I found on Pinterest for inspiration) at the bottom and top of the balustrade. The newel post on the landing in the living room will even have a lamp on the top inside a mica light box! The handrail is now a question and something to lose more sleep over (?)!
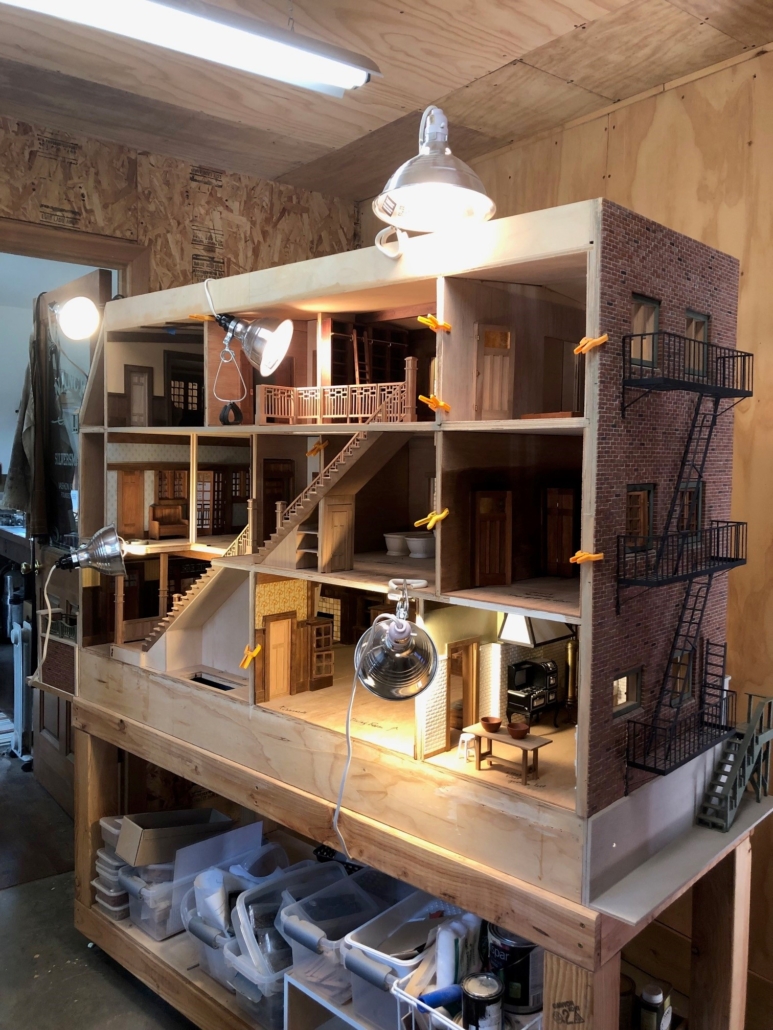
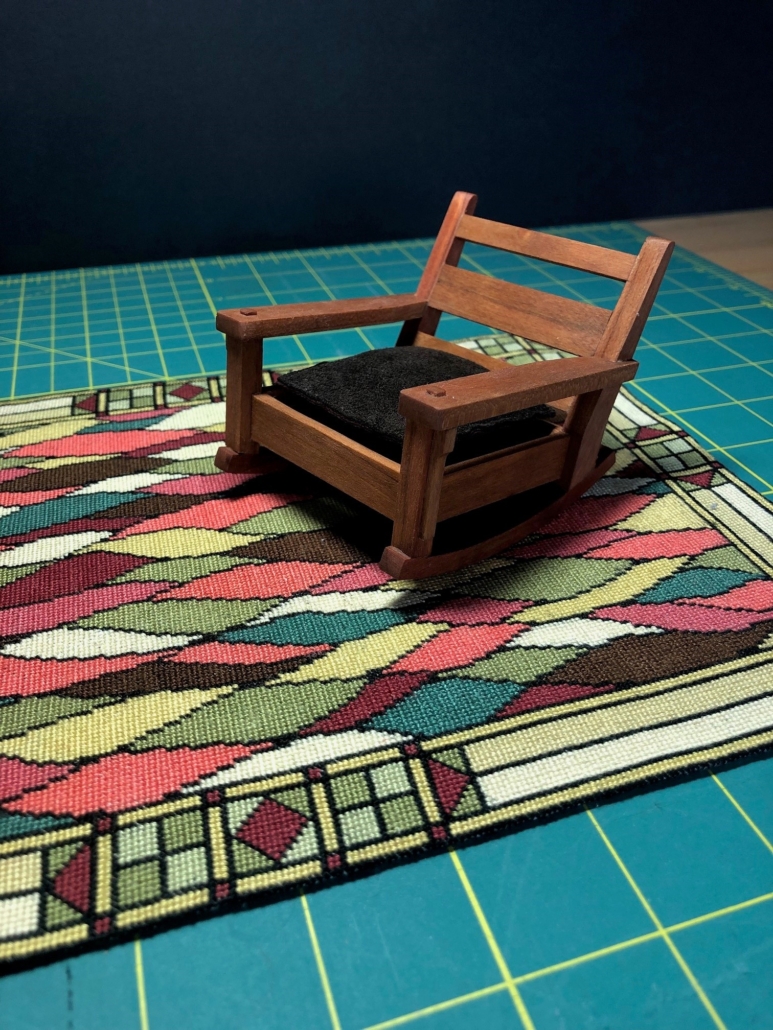
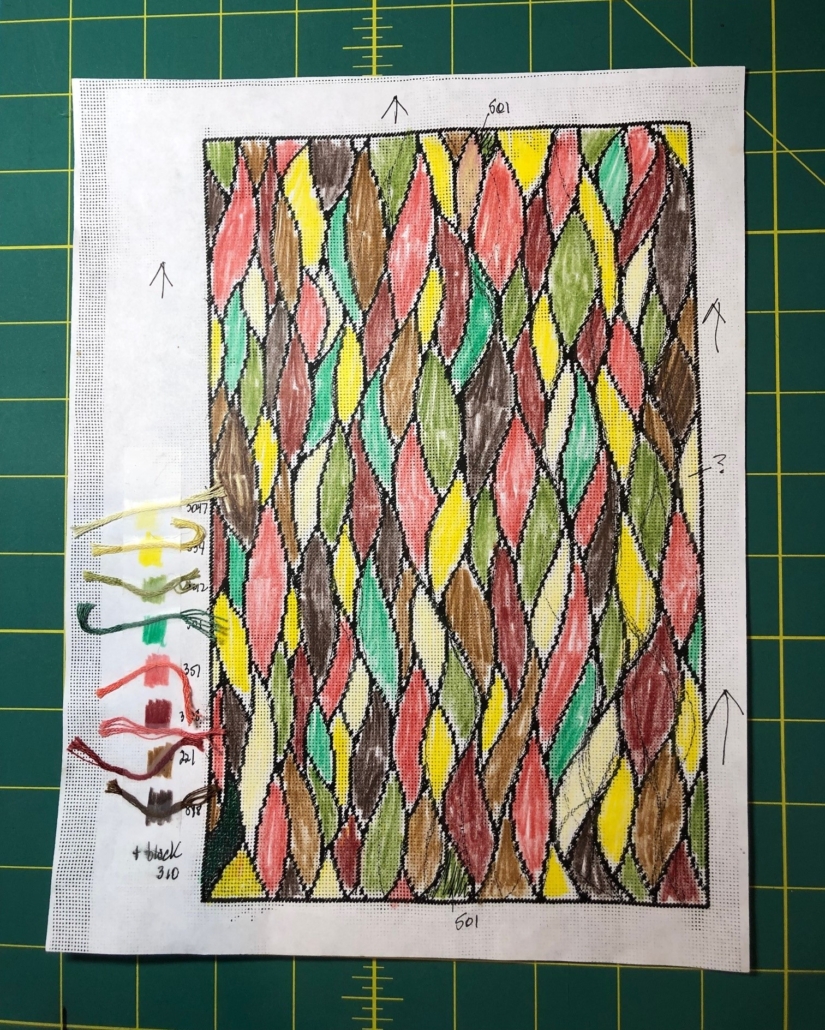
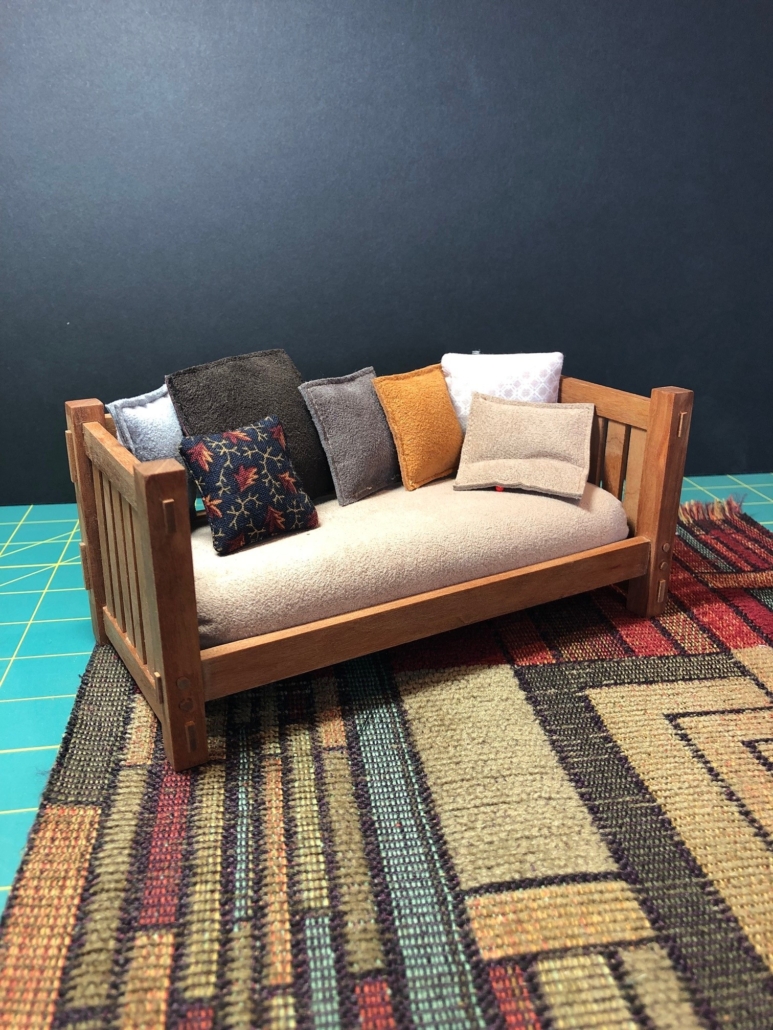
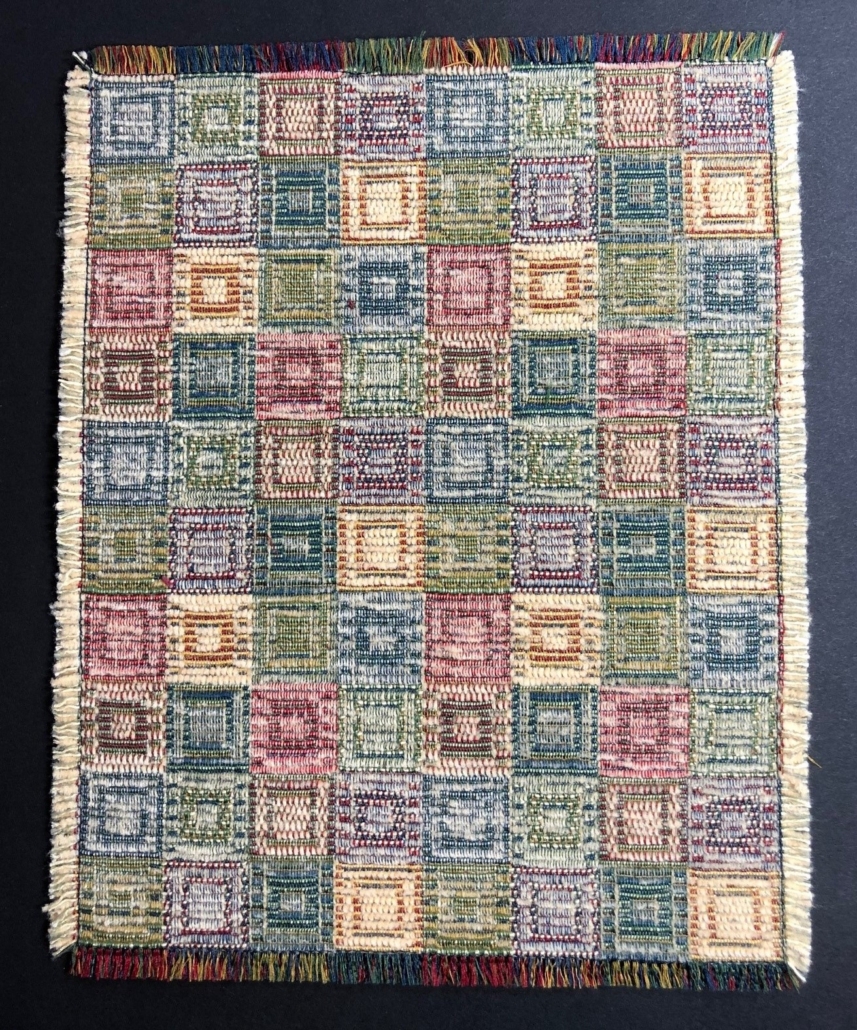
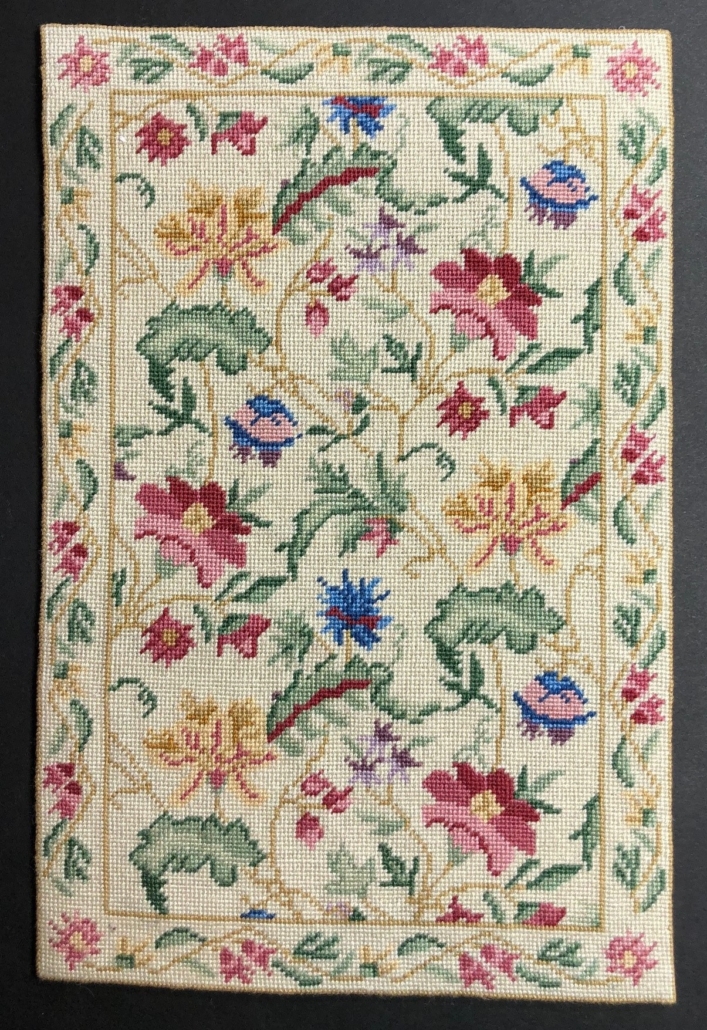
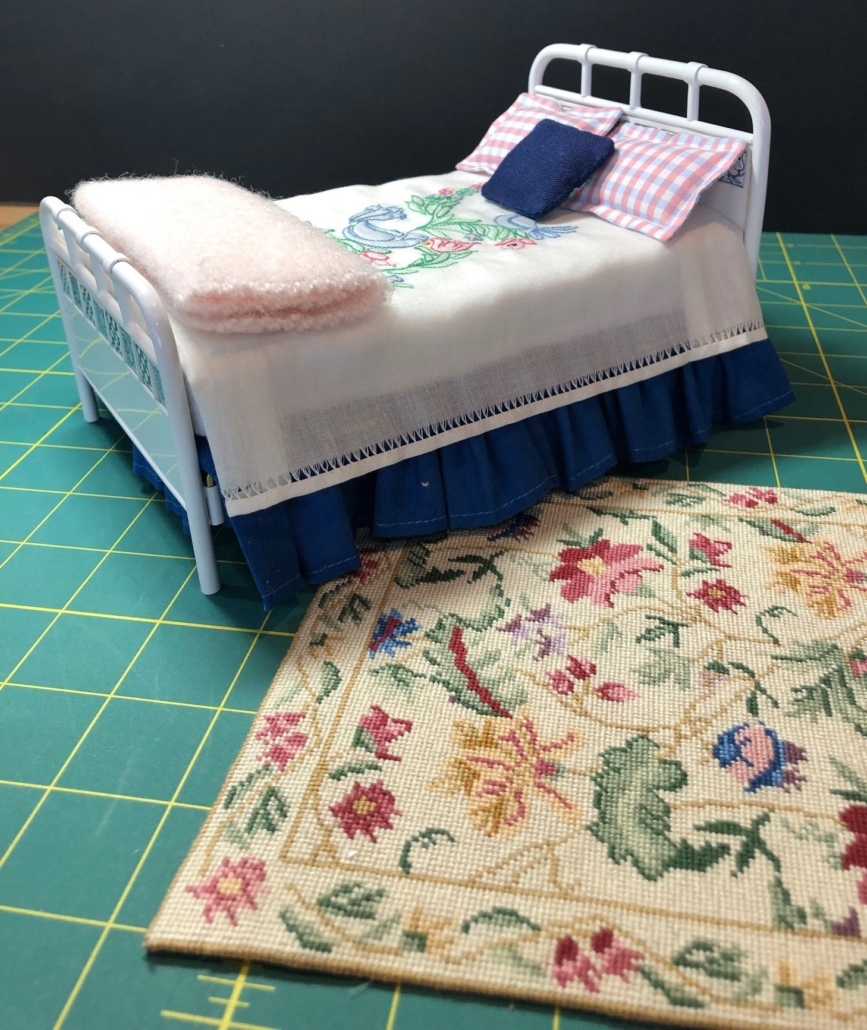
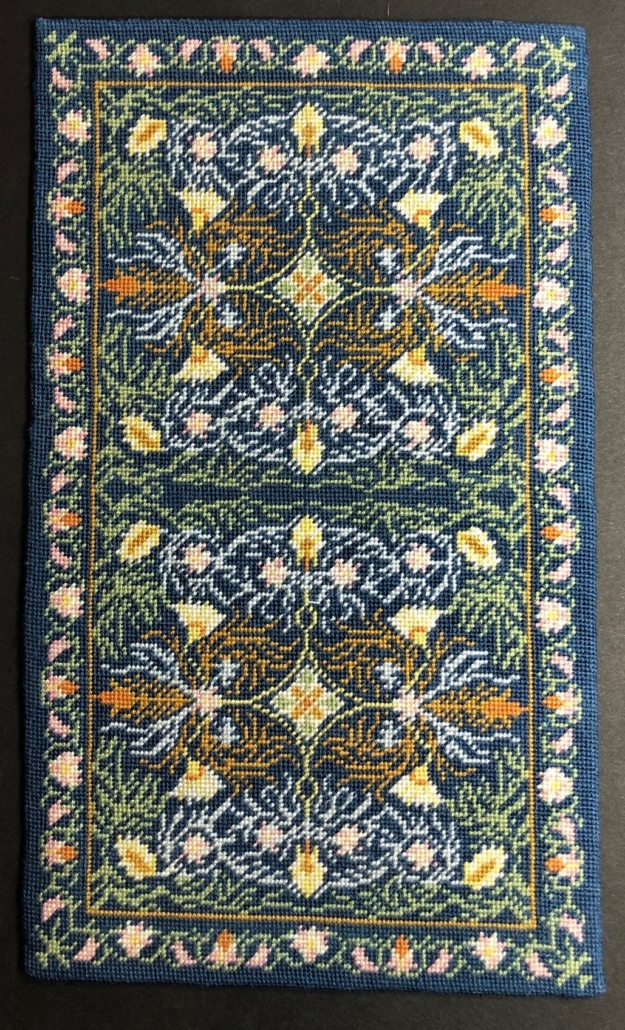
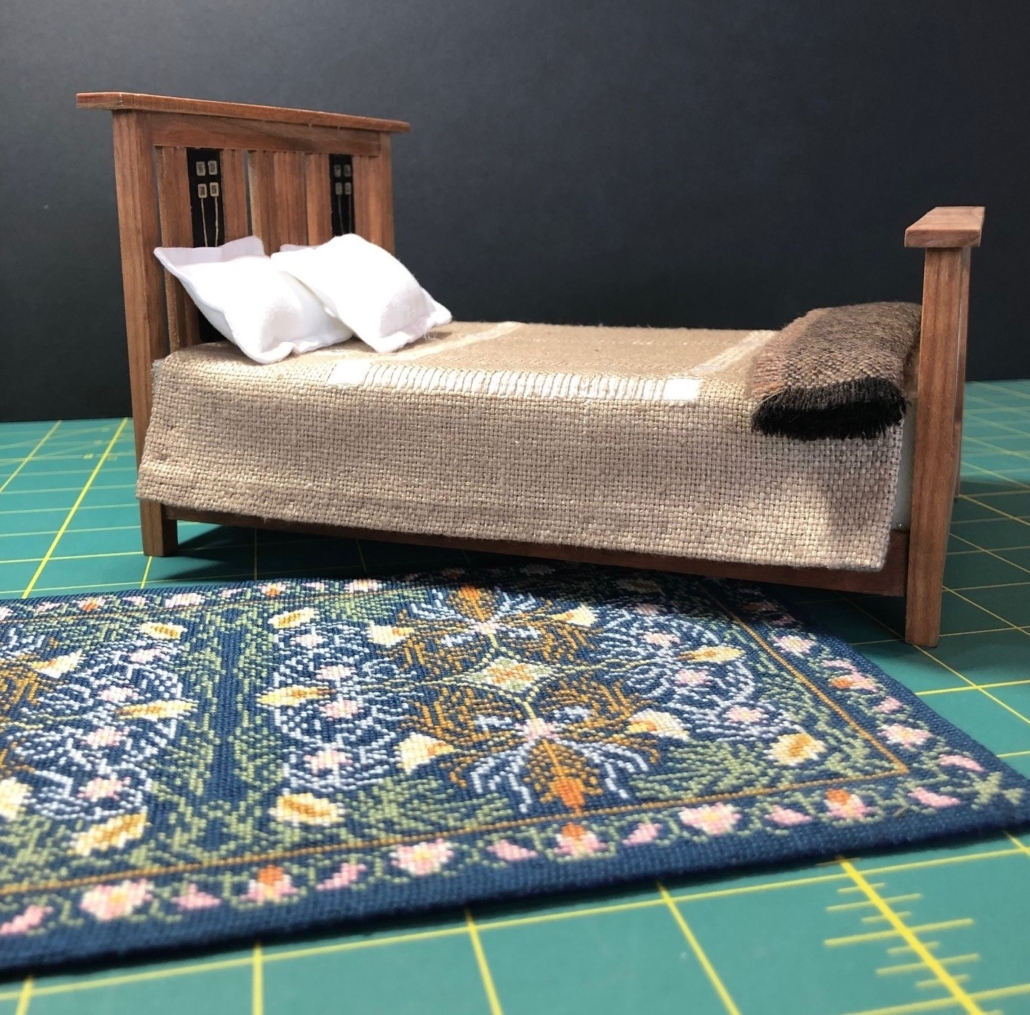
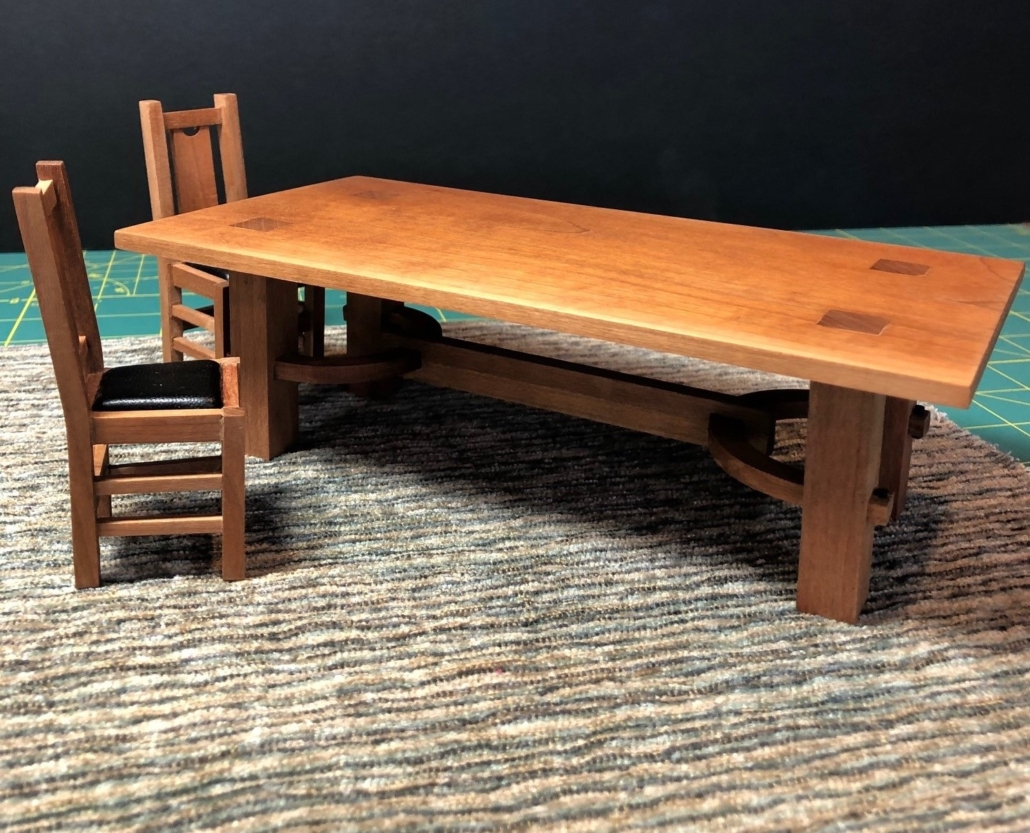
The following are photos of the City House progress and some shots of my shop, tools, and supplies.